विशेष लेख
How to paint an otter in watercolour
Creating a realistic watercolor otter may seem challenging at first, but by following a clear, step-by-step process, you can gradually build up detail, depth, and texture to achieve a lifelike result.
Henry Collins
लेखक
लेख परिचय
नीचे पूरा लेख पढ़ें।
अनुभाग
समाचार
Creating a realistic watercolor otter may seem challenging at first, but by following a clear, step-by-step process, you can gradually build up detail, depth, and texture to achieve a lifelike result.
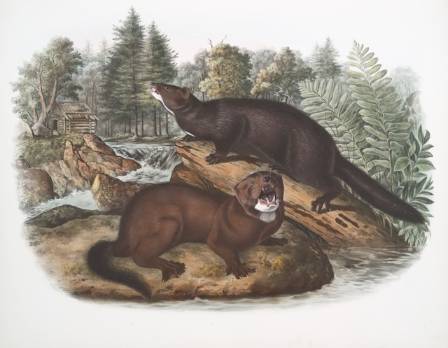
Step 1: Outline the Drawing
Begin by sketching the basic shape of the otter.
If freehand drawing feels difficult, you can trace the image or use a grid method to scale it up accurately.
Step 2: Apply Masking Fluid
Cover the otter and surrounding greenery with masking fluid.
Use an old brush for larger areas and a blunt stick or ruling pen for fine details (apply gently).
You can mask the entire otter or just an area slightly inside the outline. Allow it to dry completely.
Step 3: Paint the Background
Mix a generous amount of sap green and burnt umber.
Wet the paper several times with a large brush, then let it settle slightly to prevent paint from running.
Apply the color in horizontal strokes from left to right, gradually moving downward. Avoid going back over drying areas.
Let the painting dry completely (preferably overnight), then gently remove the masking fluid.
Step 4: Paint the Eye
Using a fine brush, outline the eye with a mix of alizarin crimson and burnt umber.
Fill the iris with a slightly darker version of the same mix, then paint the pupil with an even darker tone (add a touch of black). Leave the highlight unpainted.
Add a small highlight using white acrylic and soften the edges while still wet.
Paint fine hairs around the eye, following the direction of fur growth.
Step 5: Base Layer and Detail Work
Apply a light wash of yellow ochre and burnt sienna over the entire otter (avoid the eye). Let it dry.
Start adding fur details with a fine brush. Work in a consistent direction to avoid smudging.
Focus on fur direction rather than overall shape at this stage.
Step 6: Add Depth and Dark Areas
Use a mix of lamp black, burnt umber, and alizarin crimson to deepen the darker areas on the head and neck.
This contrast helps create a more three-dimensional effect.
Paint the nose with a warmer, reddish mix, adding darker tones where needed.
Use white watercolor to add fine highlight hairs.
Step 7: Continue Down the Body
Apply the same techniques used on the head to the rest of the body:
Follow fur direction carefully
Build up light and shadow gradually
Reapply details if they become lost during layering
Use white paint again for lighter fur areas.
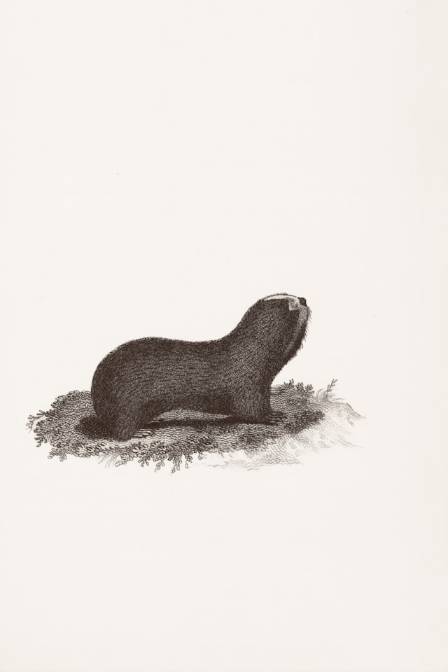
Step 8: Paint the Whiskers
Practice first on a scrap piece of paper:
Keep your arm steady and move from the wrist
Use thin white acrylic paint
Paint in smooth, curved motions
Once confident, add whiskers to your painting with light, controlled strokes.
Step 9: Paint the Grass
Prepare several green mixtures using combinations of yellow and blue tones.
Start on one side with a yellow base, then add green along the edges while still wet.
Lift out leaf veins with a clean, dry brush before the paint fully dries.
Use varied greens across the composition for depth and realism.
Step 10: Final Details and Shadows
Deepen shadows in the grass using burnt umber and blue, adding a touch of black for darker areas.
Apply a light white wash over certain areas for variation.
Once dry, add fine white lines to enhance grass texture and detail.
With patience and layering, you’ll create a richly detailed watercolor otter full of depth and realism.
यह भी पढ़ें
15 Types of Monkeys Climbing Trees All Around the World
Brooke Simmons
लंदन
गीता
मीठे पानी के चमत्कार – झीलों में रहने वाले 21 अद्भुत जानवर
भाविका
Mastering the Art of Painting a Charming Country Cabin
Ella Madison Brooks

Best Homemade Lemonade Ever
Aurora Vale
Growing Sunflowers for Beginners
Noah Bennett