विशेष लेख
Mastering the Art of Painting a Charming Country Cabin
Capturing the essence of a serene, rustic cabin through painting is a delightful way to explore texture, light, and natural surroundings. This guide focuses on the fundamental steps required to transition from a simple concept to a finished, evocative landscape. Whether you are using watercolor to achieve a soft, ethereal glow or another medium for a more structured look, the core principles of building an outdoor scene remain constant.
Ella Madison Brooks
लेखक
लेख परिचय
नीचे पूरा लेख पढ़ें।
अनुभाग
समाचार
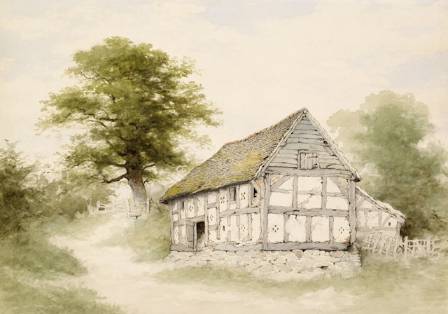
Capturing the essence of a serene, rustic cabin through painting is a delightful way to explore texture, light, and natural surroundings. This guide focuses on the fundamental steps required to transition from a simple concept to a finished, evocative landscape. Whether you are using watercolor to achieve a soft, ethereal glow or another medium for a more structured look, the core principles of building an outdoor scene remain constant.
Creating a successful cabin painting requires a balance between architectural precision and the untamed beauty of the outdoors. By breaking the process down into manageable phases—from selecting your tools to the final artistic flourishes—you can build a professional-quality piece that resonates with a sense of peace and nostalgia.
Essential Tools and Preparatory Techniques
Before beginning your project, it is vital to assemble the correct materials. For a classic cabin scene, you will need a variety of brushes, including flat brushes for large washes of the sky and forest, and fine-tipped round brushes for the intricate details of wood grain and window frames. Quality paper or canvas that can handle layering is essential to prevent warping as you add depth to your work.
Familiarizing yourself with specific methods is equally important. Mastering the "wet-on-wet" technique allows for seamless transitions in the sky and background foliage, while "dry brushing" is perfect for creating the rugged, weathered texture of timber logs and stone chimneys. These foundational skills provide the versatility needed to represent different environmental elements within a single composition.
Drafting the Scene and Establishing the Foundation
The journey starts with a careful sketch. Begin by outlining the basic geometric shapes of the cabin, paying close attention to perspective to ensure the structure feels grounded in the environment. Position the cabin slightly off-center to create a more dynamic and visually interesting composition. Once the building is placed, lightly sketch the surrounding elements—such as towering pines, winding paths, or distant mountains—to frame your focal point.
After the sketch is complete, the first layer of color, often referred to as a "wash," is applied. This stage is about establishing the overall atmosphere and light source. Use diluted, light tones to block in the sky, the distant greenery, and the base colors of the cabin. Keeping this initial layer transparent allows the light to shine through from the surface, providing a natural luminescence that is particularly effective in landscape art.
Refining Details and Enhancing Depth
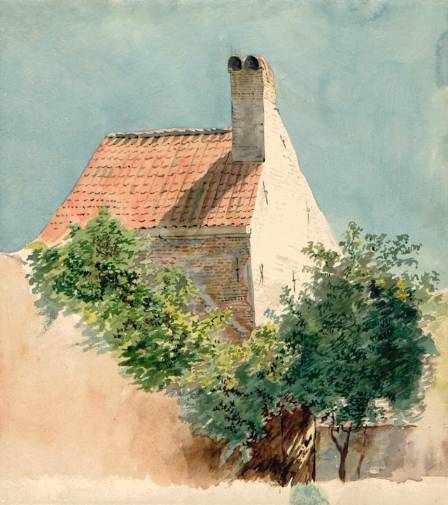
Once the base layer is dry, you can begin the process of "building up" the scene. This involves adding mid-tones and shadows to give the cabin three-dimensional form. Focus on the areas under the eaves, the recessed windows, and the side of the building facing away from the light. Adding these darker values immediately makes the structure pop against the background.
During this phase, introduce specific textures that define a woodland cabin. Use concentrated pigments to draw individual planks, shingles on the roof, and the varied colors of stones or bricks. Don't forget the surrounding nature; adding different shades of green and brown to the foliage creates a sense of density and realism. This layering process is where the character of the quaint dwelling truly begins to emerge.
Final Accents and Atmospheric Polishing
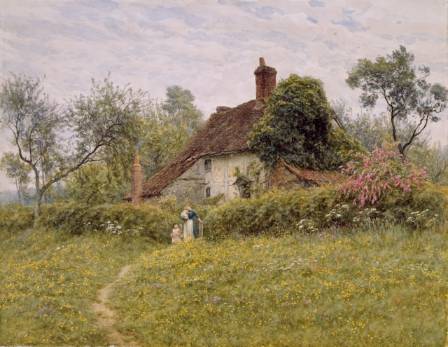
The final stage of the painting is dedicated to highlighting and fine-tuning. Use your smallest brushes to add the sharpest details, such as the reflection of light on window glass, the wisp of smoke from a chimney, or the delicate blades of grass at the cabin’s base. These tiny additions draw the viewer's eye and provide a sense of completeness to the narrative.
Review the entire composition to ensure the colors are harmonious and the focal point remains clear. If certain areas feel too flat, add a few more dark accents to increase contrast. Conversely, use opaque white or a damp brush to lift color for bright highlights. Once these finishing touches are in place, the result is a beautiful, hand-crafted depiction of a peaceful retreat that showcases both your technical skill and your creative vision.
यह भी पढ़ें

टूर डी फिल्म: फिल्मों में बाइक के 10 सबसे अच्छे और सबसे बुरे इस्तेमाल
पूजा

आधुनिक पुरुष के लिए आदर्श बैग चुनने की मार्गदर्शिका: शैली और उपयोगिता
सुबोध अग्रवाल

Antarctic expert: The Emperor penguin
Samantha Wright
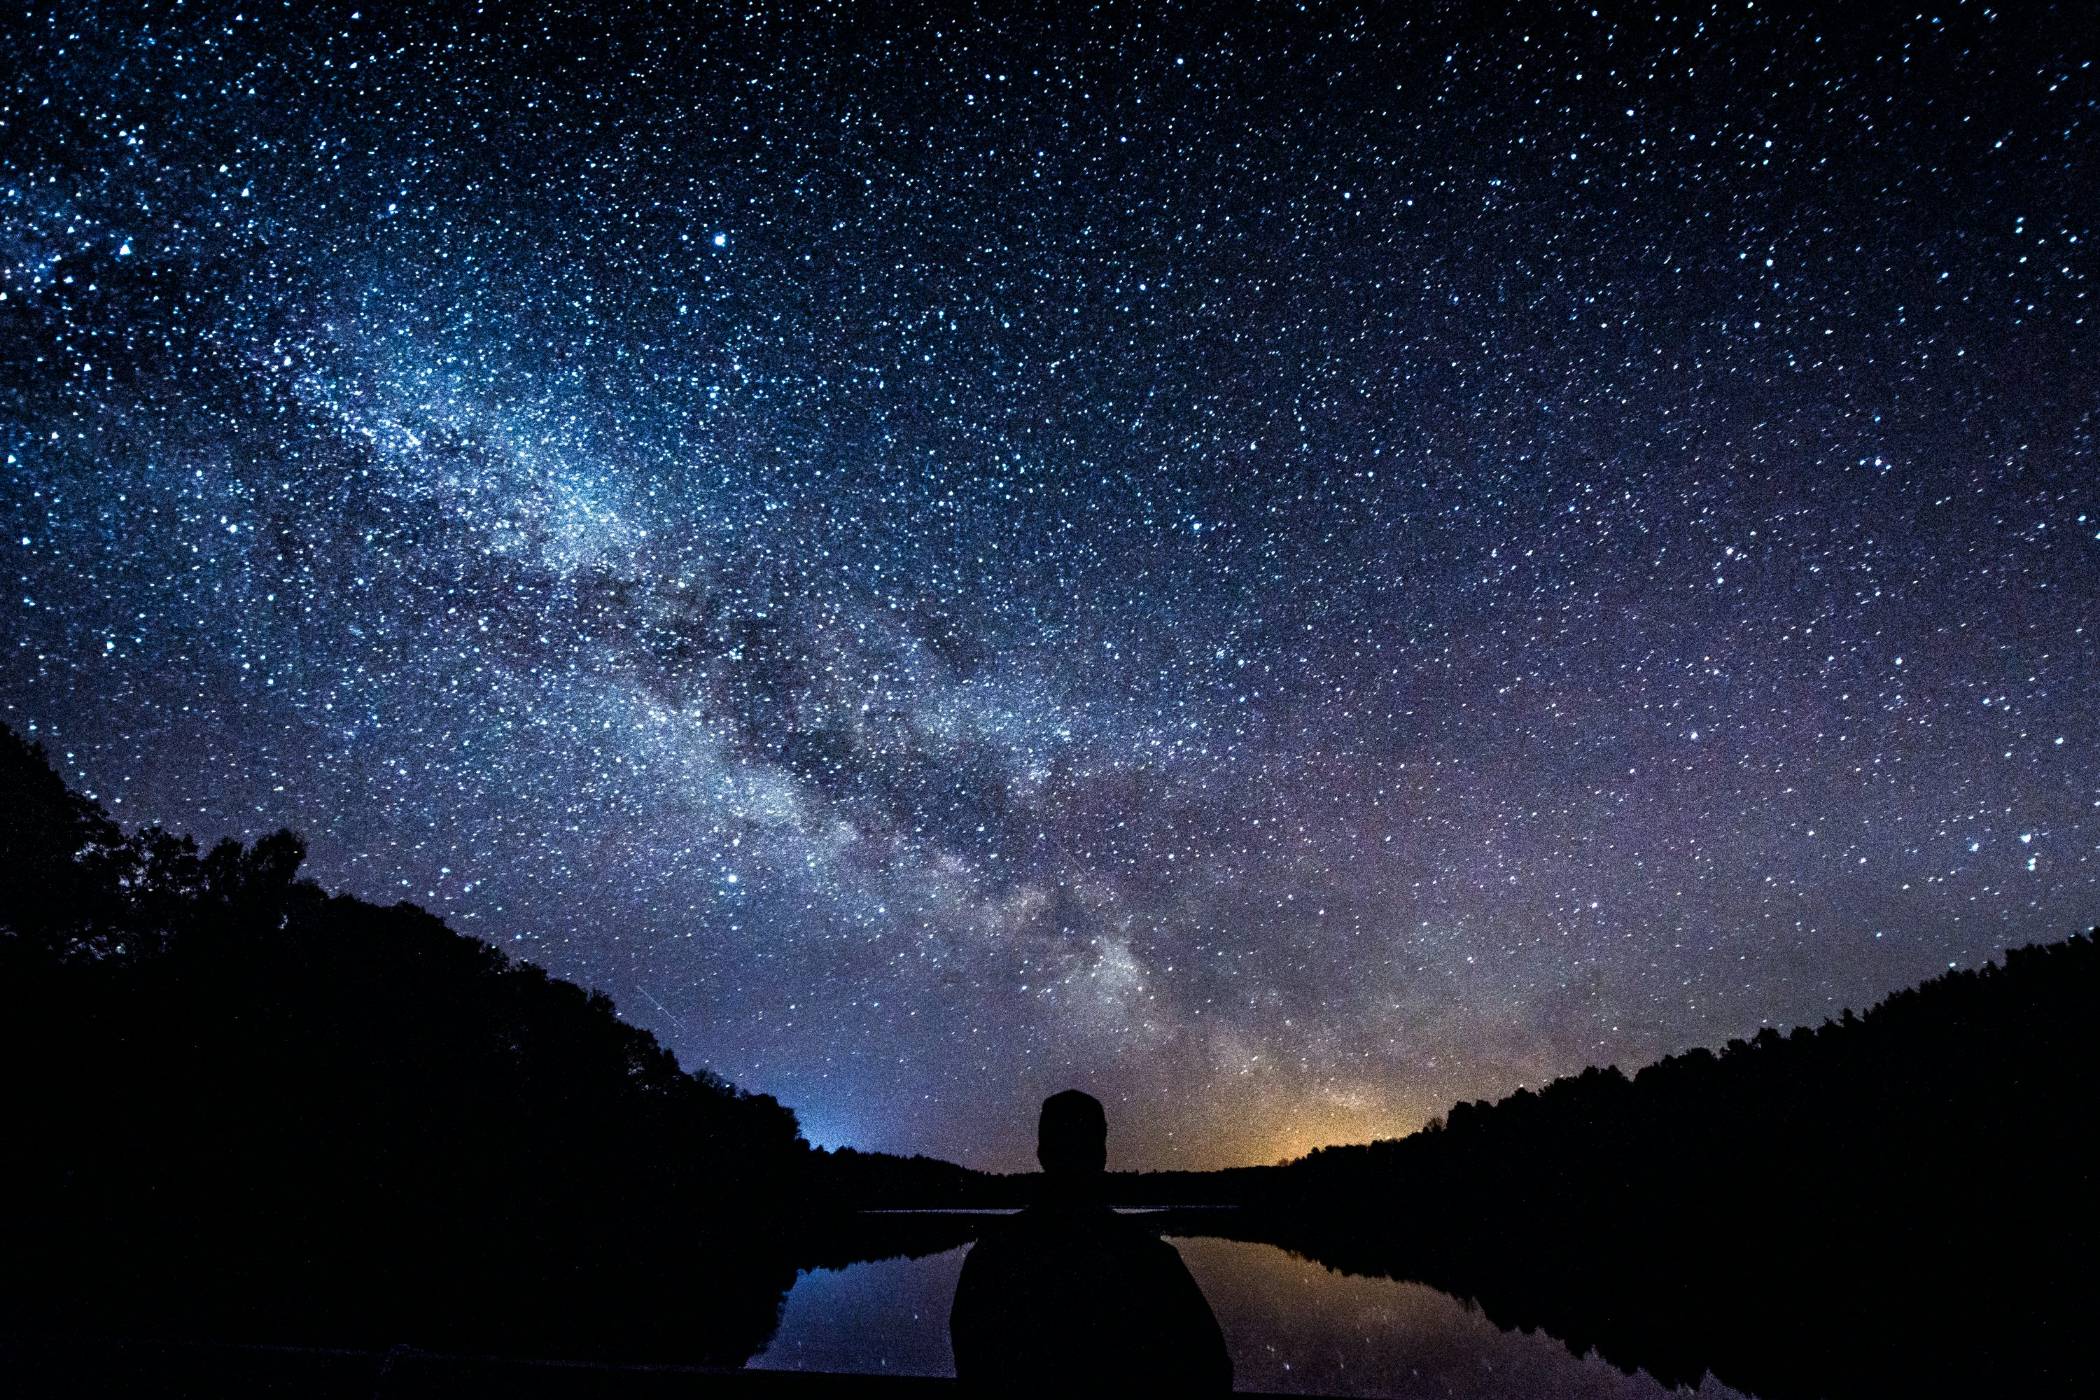
मिल्की वे देखने का सबसे अच्छा समय + 2025 मिल्की वे चार्ट
आदित्यभानु

पौष्टिक, पहले से तैयार किए जा सकने वाले नाश्ते के ओट्स बाउल
मुस्कान गांगुली

अटलांटिक पफिन
वाणी